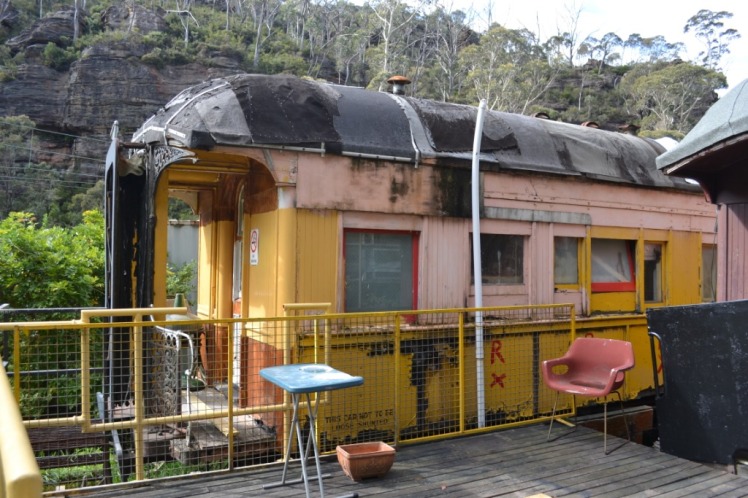
With lighting now installed in the gutted end of L516, our weekend warriors focused their attention on furnishing this end of the car. This will be a top down approach, starting with the roof and light fittings. Ritchie Bros cars were synonymous with elaborate pressed metal roof mouldings, which remain in the sleeping compartments at the other end of L516.

Sourcing the original pressed metal roof moulding pattern quickly proved difficult, and copying an existing pattern was prohibitively expensive. After a great deal of research, Jean Morrison from Heritage Ceilings (www.heritageceilings.com.au) suggested we use their Lily pattern, which retains the flowing floral patterns of the original style.

Experienced carpenter and volunteer car builder Chris was happy to provide his Ute to collect the pressed metal sheets from the factory at Bathurst. Although we may have taken a slight de‐tour…

Could this be the first time “4901” has been in poll position at Bathurst?
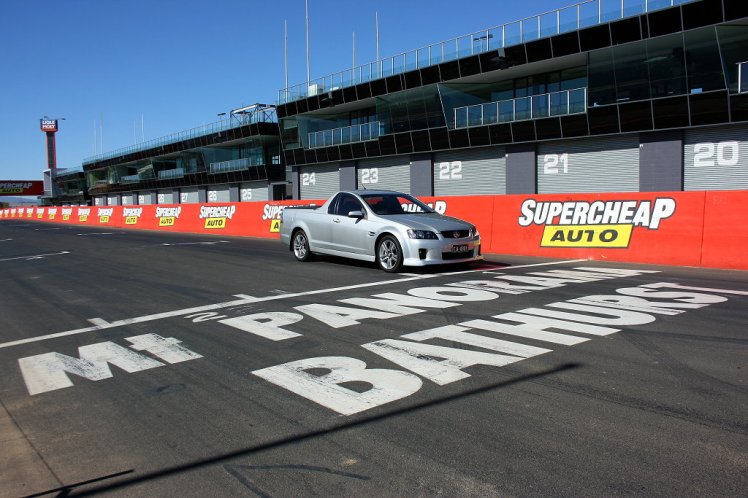
Down at the factory, Todd ensures that the precious cargo is safe and secure for the return trip to Sydney.

Back at the shed, the Saturday working bees have the sheets installed one at a time and before long we start to get a feel for how it’s going to look. The strings provide additional support during installation, to avoid creasing the sheets. You don’t normally use these in HO scale!

Standing back to admire our handy work, its clear we have a long way to go!

But the work group have it all in hand. Chris starts by pre drilling the screw holes in the sheets.

Then, with the sheet partially screwed in place, the hole is drilled for the light fitting. Eye protection is important when drilling sheet metal.

Then the light globe is re‐installed.

At the close of Saturday, several sheets are installed.

It will take a number of work days to complete this job, but its well worth the wait.